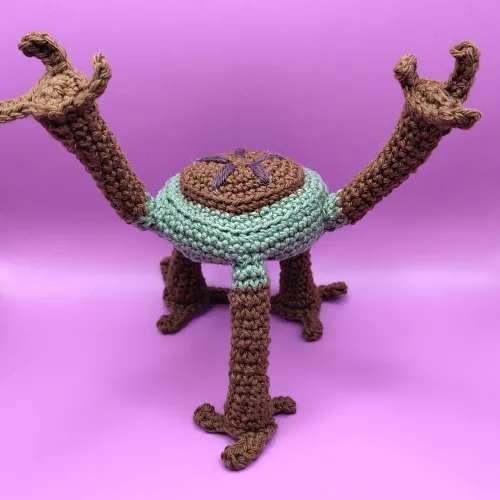
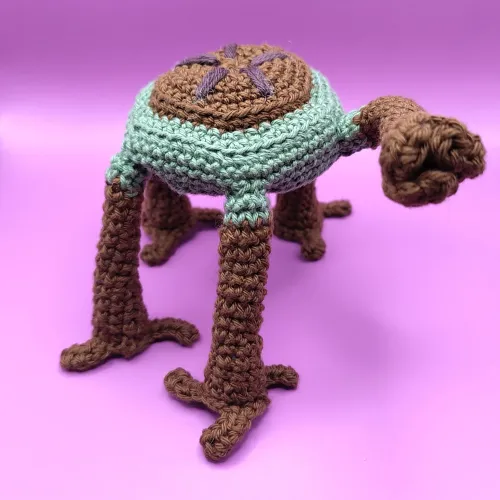
Rocky
Project Hail Mary by Andy Weir is probably my favorite among the books I read or listened to in the last few years. I went in without knowing anything about. So, I got incredibly excited when Grace first spotted the Blip-A, and then even more so when Rocky tapped the wall in the connecting tunnel. Now I really needed to crochet Rocky.
However, making an amigurumi of him would be difficult. He has five long legs, and I wasn't sure if he'd stand or lie flat if I just stuffed them. So, I tried something new: I created a wire skeleton that supports his legs and body and makes him posable. Amaze! Jazz hands!
This pattern is my latest iteration of that process. Crocheting around the wire was a bit fiddly, and I'm not sure if the photos I took convey well how to do it. I hope it is clear enough, though, and if something is unclear, you get stuck, or you spotted a mistake, please don't hesitate to contact me on any of my socials (links in the footer). This pattern is free and will always remain free. However, if you want to support me coming up with patterns like this, you can tip me on Ko-fi.
Steps
Yarn weight: super fine in brown, green, and a little dark brown (or black) for details. (I used Hobbii Friends 8/4 in Walnut, Sage, and Americano.)
Hook size: 2.5 mm
Additional material and tools:
- fiberfill for stuffing
- a piece of 2 mm thick wire, about 90 cm long (unlike Grace, I think in metric), but don't cut it beforehand
- pliers to bend and twist the wire
- pincers to cut it
- a small pieceof paper and a pencil will also be useful for drawing a simple guide for shaping the wire evenly
Abbreviations (US crochet terms)
- ch chain
- hdc half-double crochet
- sc single crochet (I used yarn-under single crochets, where the yarn is held under the hook when pulling the first loop. A regular single crochet should work fine as well.)
- sc dec single crochet decrease (I prefer the "invisible" decrease: insert hook into next two front loops, yarn over, pull through, yarn over, pull through both loops.)
- sc inc single crochet increase (two single crochets in the same stitch)
- st stitch
- BLO back loops only
- FLO front loops only
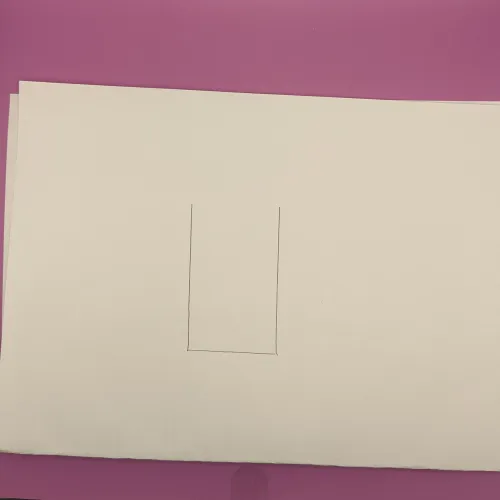
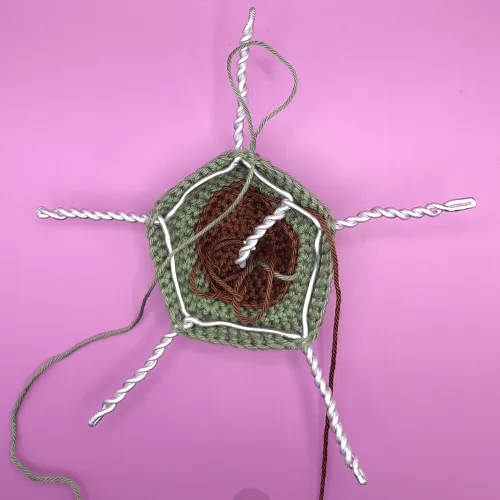
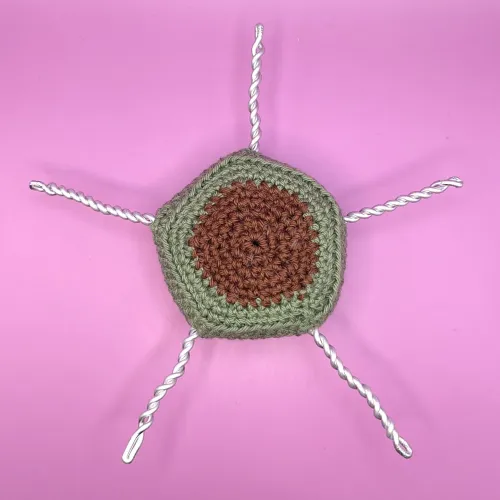
Skeleton
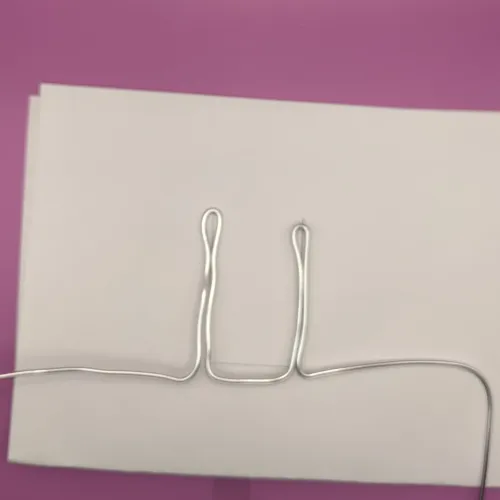
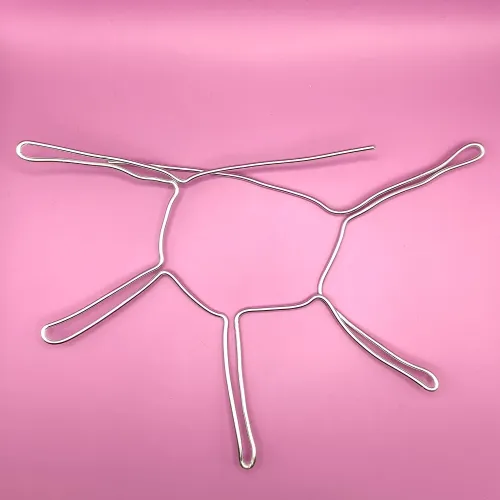
On a piece of paper draw three lines to guide the process. The central one should be about 3.5 cm, and the outer two 6 cm, each at a 90-degree angle to the central line. Start with a 8 cm of wire, then pend it 90 degrees, after another 6 cm, bend it back 180 degrees. Then after another 6 cm, so back at the first bend, turn 90 degrees again. This is his frist leg.
Repeat this four times with 3.5 cm gaps in between the legs. Then leave an 8 cm stretch of wire before cutting.
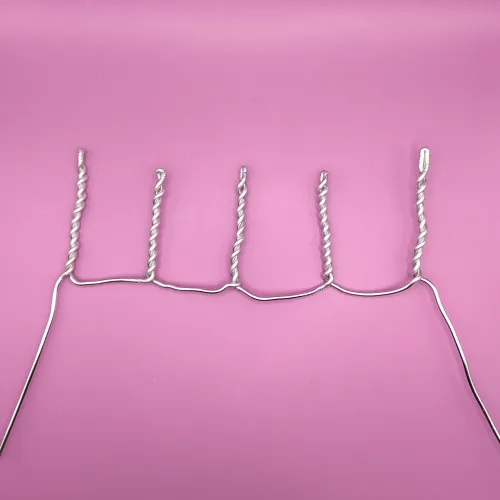
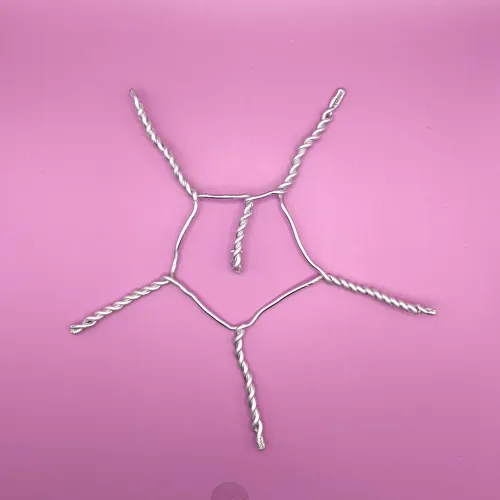
Twist each leg tightly, and bend the wire to form a pentagon, then ends together to fix the fifth side in place. The twisted ends should face inwards, so they can later be encased in stuffing, and no sharp end are exposed.
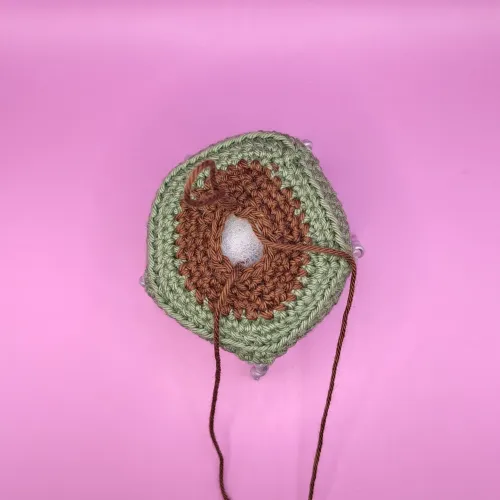
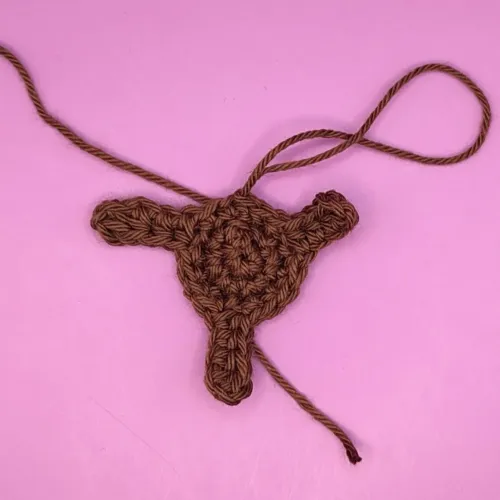
Body
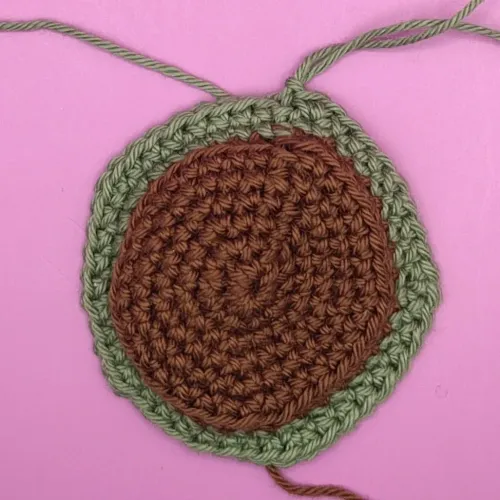
Start in brown.
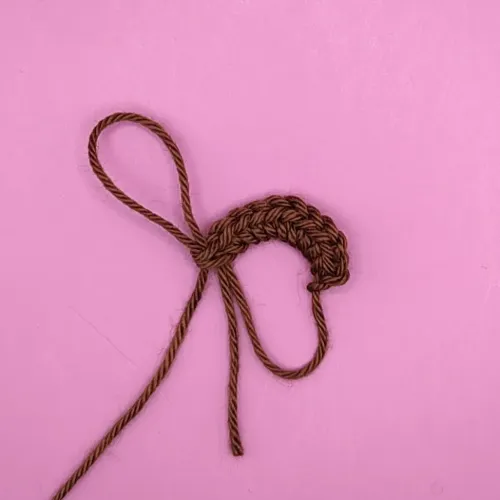
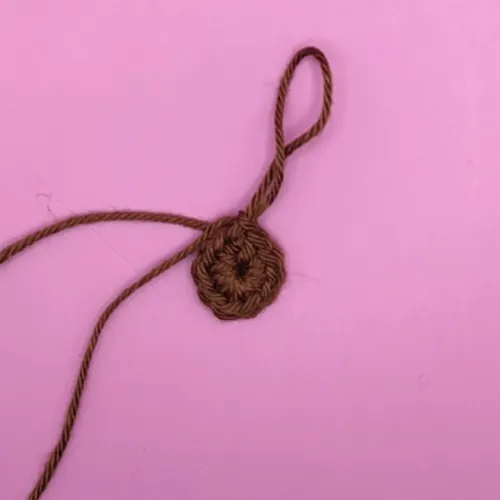
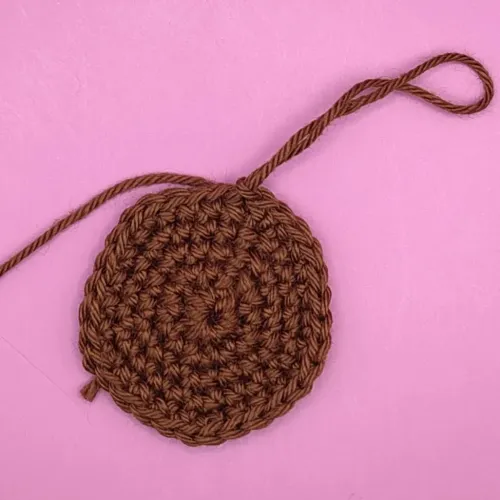
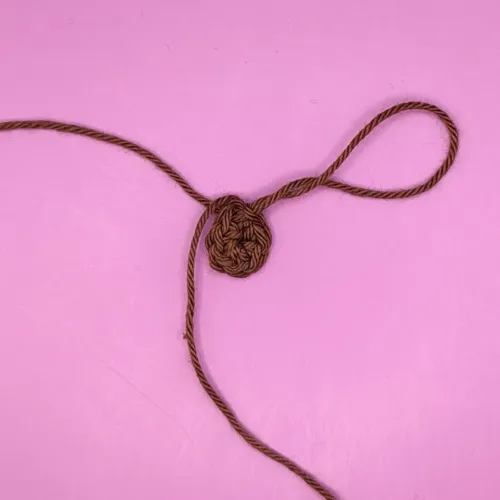
Round 1: In a magic ring, ch1, sc x 10, join with the ch. (10)
Consider leaving a long tail at the beginning. You can use it in the end to pull the center down and keep the top of his body flat. (I forgot to do this when I took the photos, and just crocheted over the short tail. Then I attach a new piece of yarn that I could pull down later.)
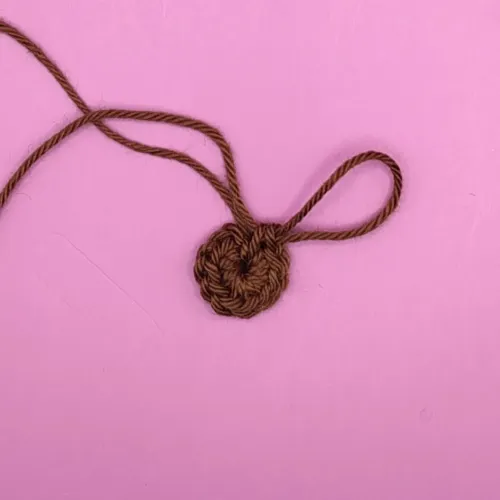
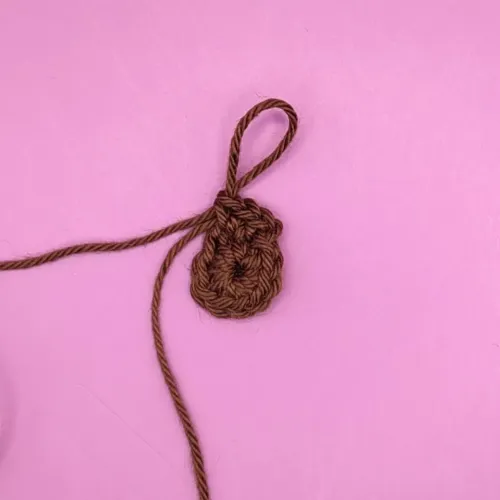
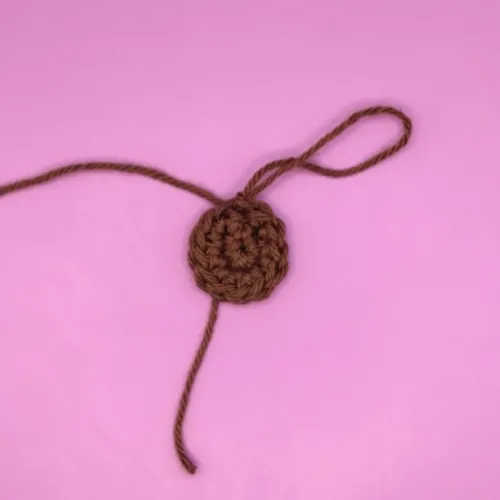
Round 2: ch1, (sc, sc inc) x 5, join. (15)
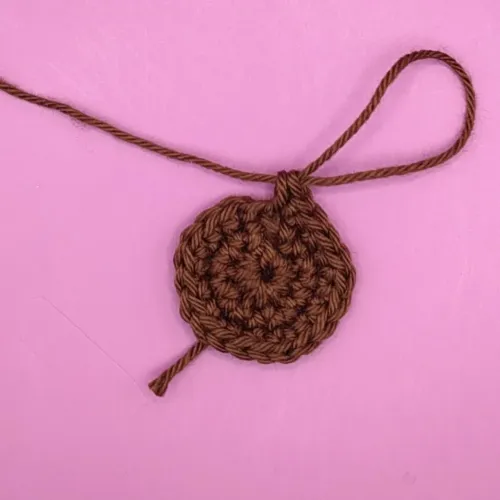
Round 3: ch1, (sc x 2, sc inc) x 5, join. (20)
Round 4: ch1, (sc x 3, sc inc, sc) x 5, join. (25)

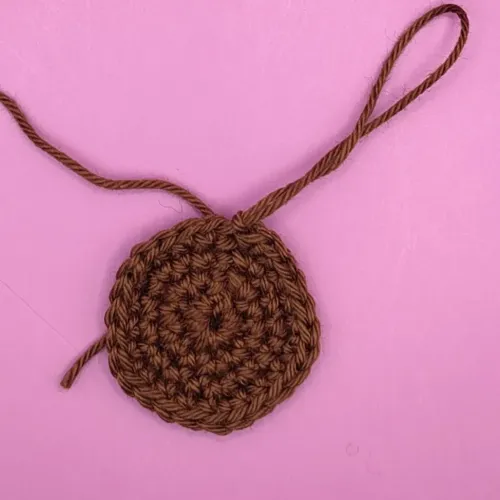
Round 5: ch1, (sc x 4, sc inc) x 5, join. (30)
Round 6: ch1, (sc x 5, sc inc) x 5, join. (35)
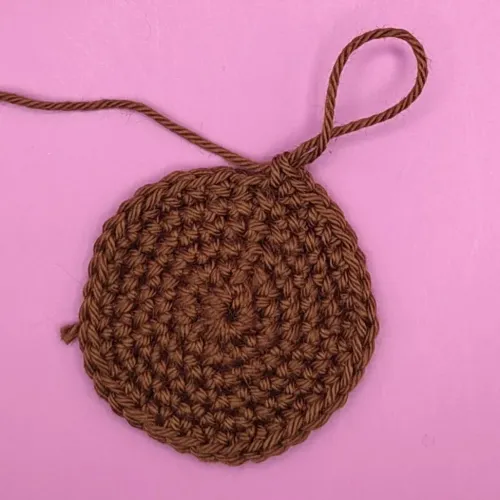
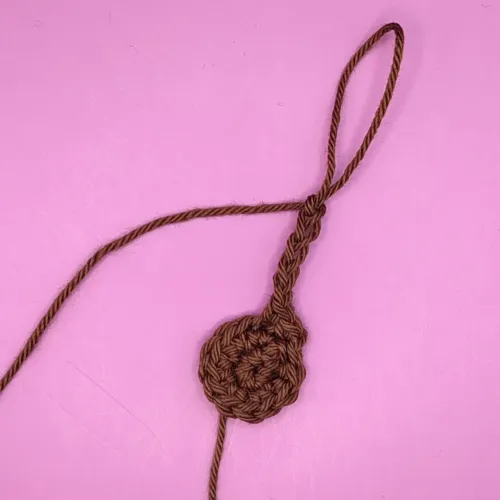
Round 7: ch1, BLO sc x 35, join. (35)
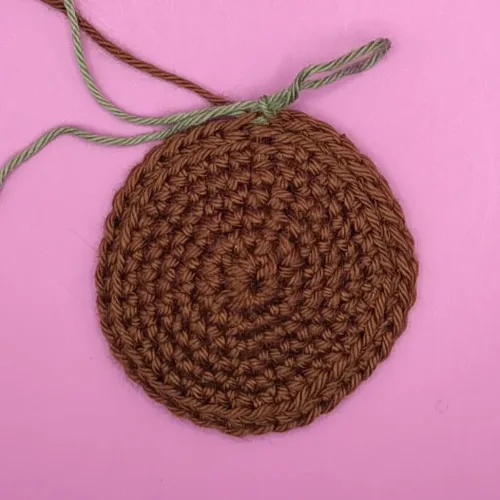
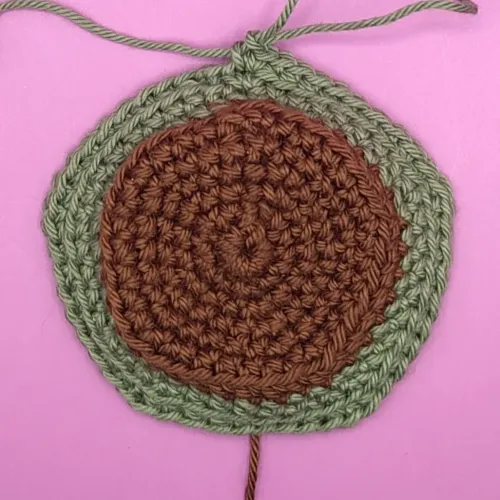
Switch to green. Don't break the brown yarn, but carry it along on the inside.
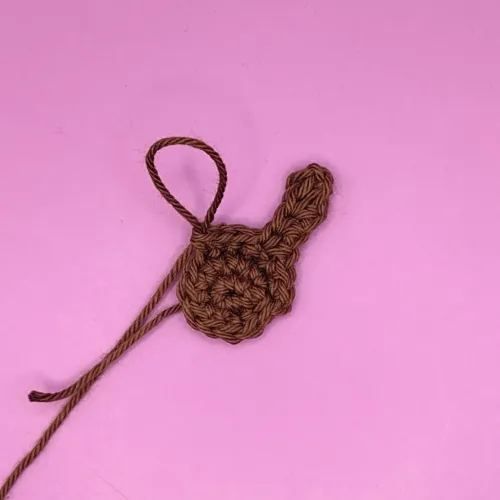
Round 8: ch1, FLO (sc x 6, sc inc) x 5, join. (40)
Round 9: ch1, (sc x 7, sc inc) x 5, join. (45)
Round 10: ch1, BLO (sc x 8, sc inc) x 5, join. (50)
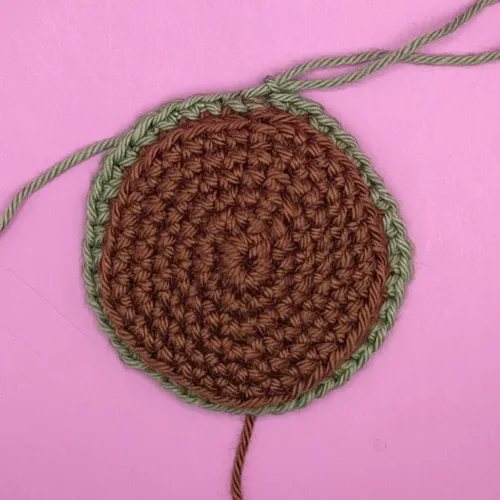
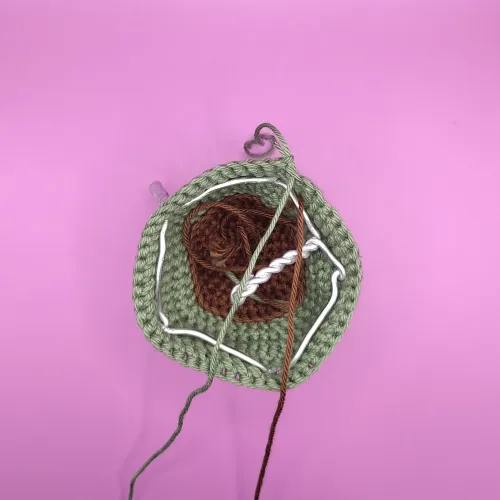
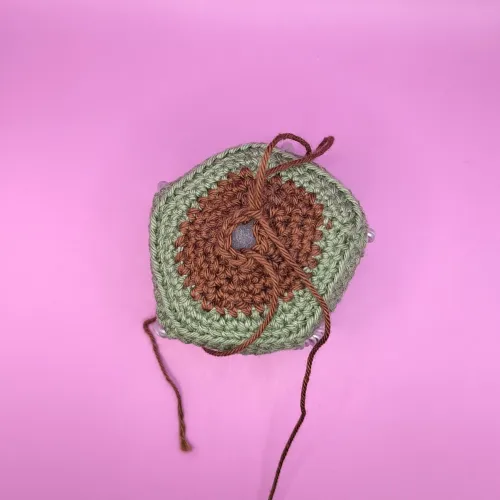
Note: From here on the body has been turned over in the photos.
Round 11: ch1, sc x 50, join. (50)
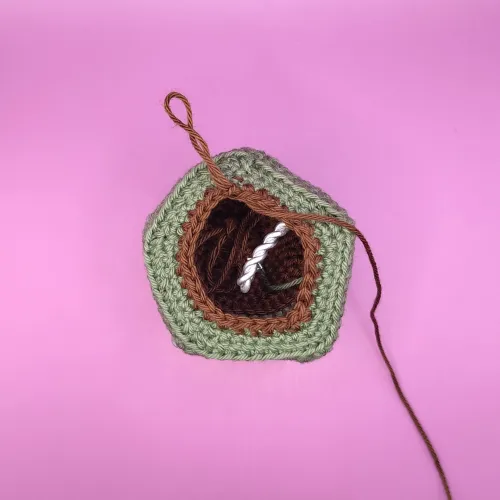
The next round is the most fiddly. When crocheting over the wire, I pulled the loop long, so I could reach around it and pull the first sc loop through the previous rounds loops. Then I pulled both loop on the hook as tight as I could before finishing the sc.
Round 12: ch1, (sc x 9, sc over wire) x 5, join. (50)
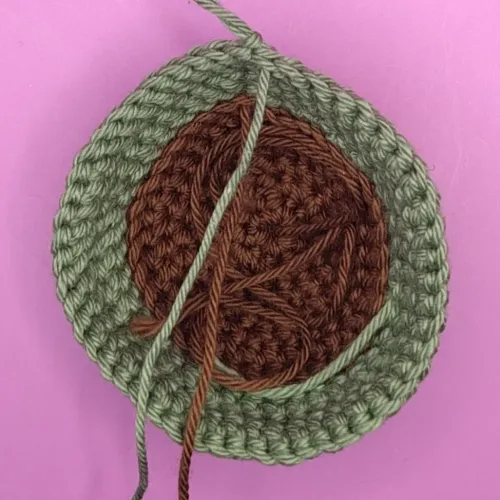
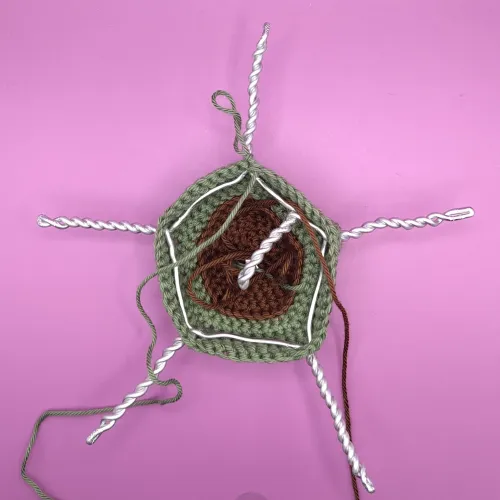
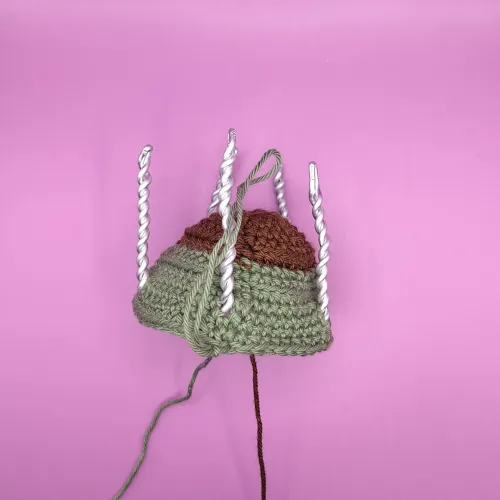
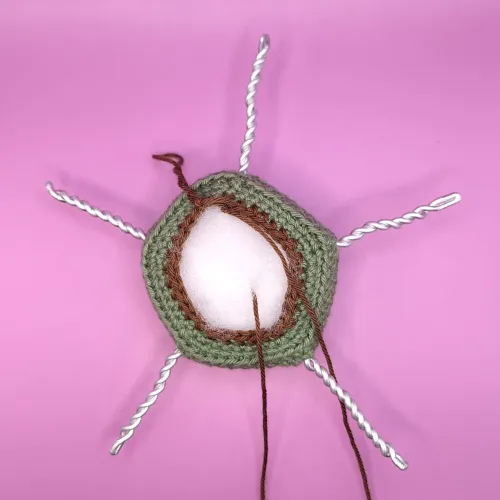
To keep the legs out of the way, bend them to top, i.e., toward the start of the project.
Rounds 13 & 14: ch1, sc x 50, join. (50)
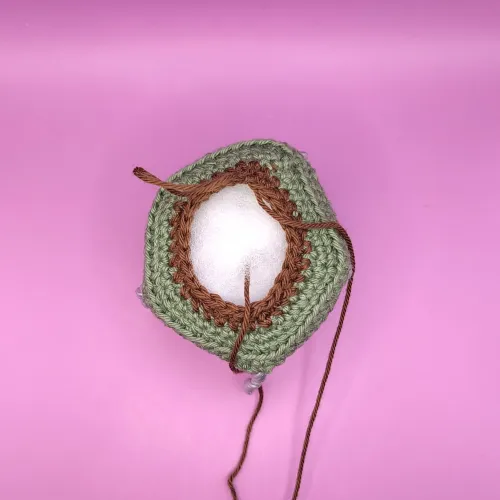
Round 15: ch1, BLO (sc x 8, sc dec) x 5, join. (45)
Round 16: ch1, (sc x 7, sc dec) x 5, join. (40)
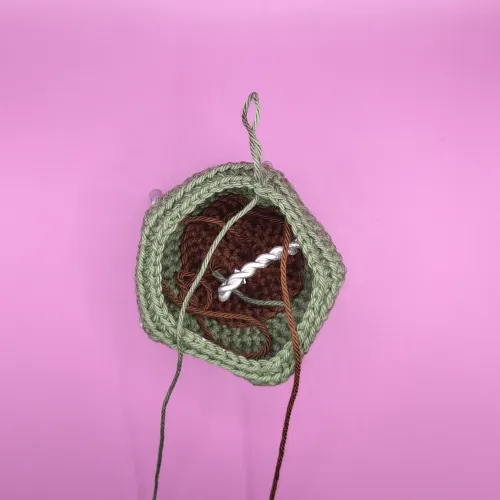
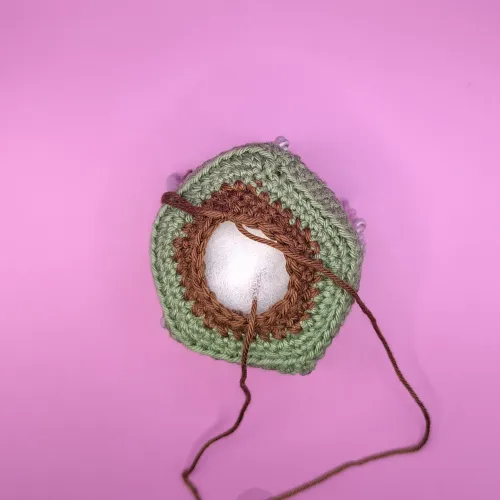
Switch back to brown. Break the green yarn, leaving a tail long enough to crochet over it in the next round.
Round 17: ch1, (sc dec, sc x 4, sc dec) x 5, join. (30)
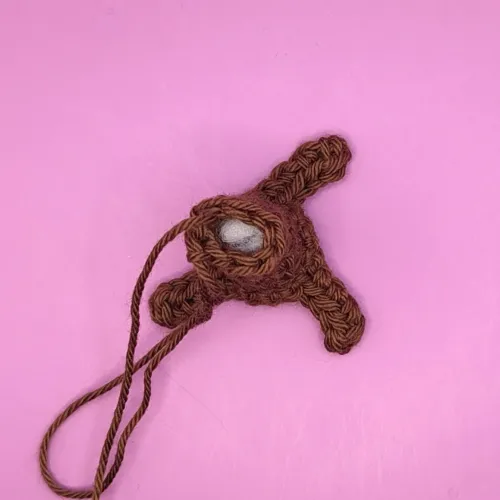
Stuff the body, keeping the long tail from the beginning in the middle of the stuffing. Remember to put a little fiberfill between the wires and the crochet piece.
Round 18: ch1, (sc x 4, sc dec) x 5, join. (25)
Round 19: ch1, (sc x 3, sc dec) x 5, join. (20)
Round 20: ch1, (sc x 2, sc dec) x 5, join. (15)
Round 21: ch1, (sc, sc dec) x 5, join. (10)
Break the yarn. Make sure to pull the long tail from the beginning through the hole. Sew the hole shut.
If the top bulges upward pull down the tail from the start before weaving it in. Similar you can thread the tail from the end to the top if the bottom isn't flat enough.
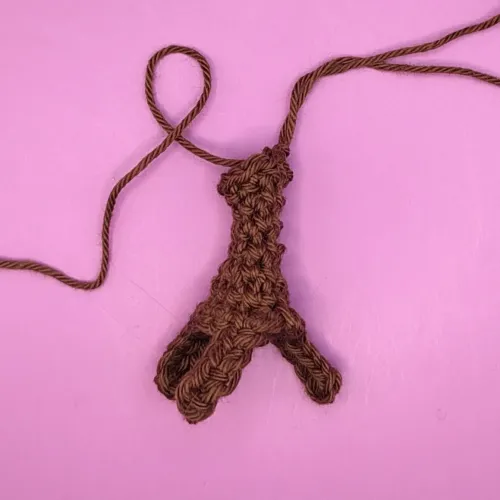
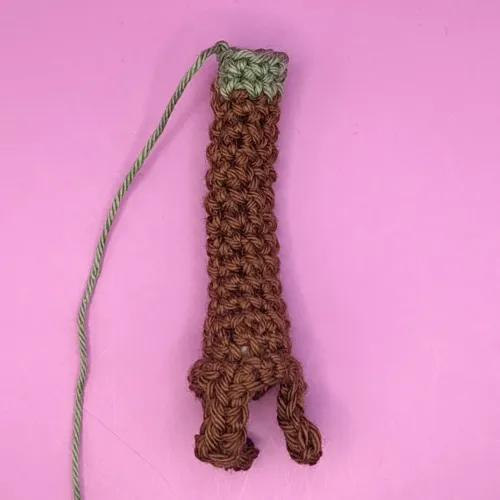
Legs (x5)
The leg's length should work well if you made 6 cm wire legs. If you changed the length, just work the main part in brown until there is a 1 cm gap when you pull the leg over the wire, and then switch tho green.
Start in brown.
Round 1: In a magic ring, ch1, sc x 6, join with the ch. (6)
Round 2: ch1, sc inc x 6 (crochet over the starting tail to secure it), join. (12)
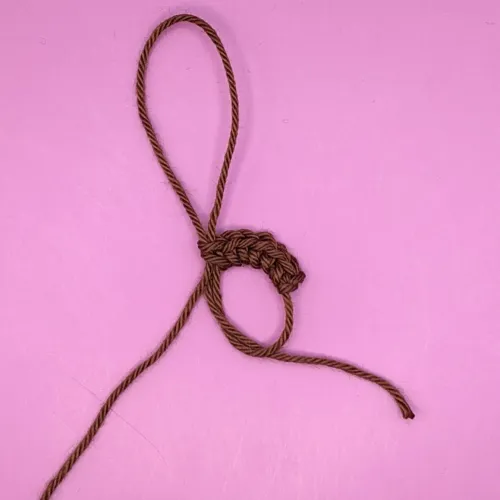
Round 3: ch1, FLO (sc x2, ch5, hdc in 2nd ch from the hook, hdc in the remaining 3 ch, sc in the next 2 front loops) x 3, join. (12)
Round 4: Join to a back loop of round 2, ch1, BLO (of round 2), sc x 12, join. (12)
Round 5: ch1, (sc, sc dec) x 4, join. (8)
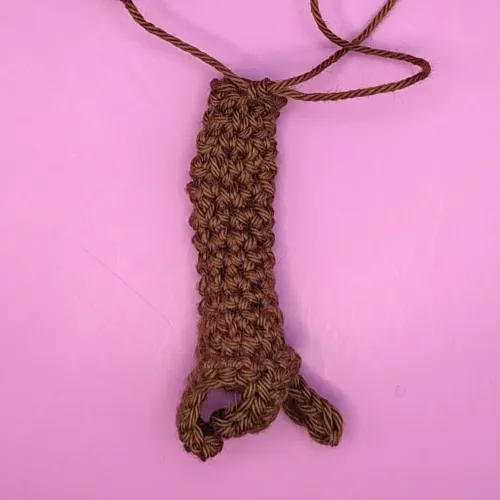
Rounds 6-9: ch1, sc x 8, join. (8)
Stuff the bottom, roughly up to round 7.
Rounds 10-15: ch1, sc x 8, join. (8)
Switch to green when joining in round 15.
Crochet over the end of the brown yarn and the start of the green yarn in round 16, then stuff it into the leg.
Rounds 16 & 17: ch1, sc x 8, join. (8)
Break yarn, keeping the tail long enough to sew the leg on.
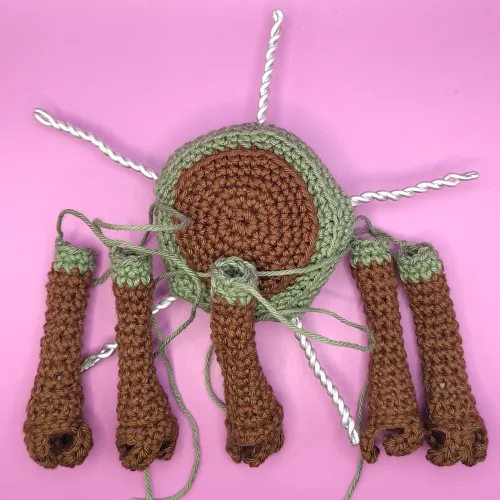
Assembly and Finishing Touches
With all parts ready (body + 5 legs), pull the legs over the wire, and sew them.
Then embroider Rocky's vents onto his top side using dark brown or black yarn.

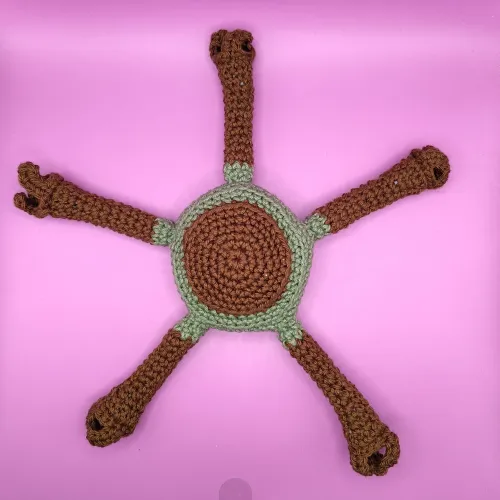
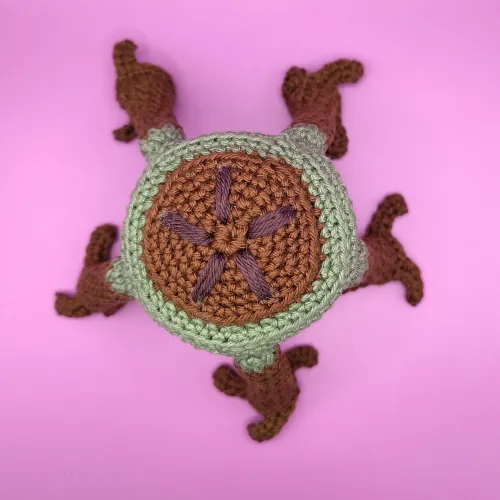
Now you're all done and Rocky can be posed any way you like.
Fist my bump!